
When you create a new EC2 instance and created new keys, the keys are on the pem key format. This is used for SSH connection and is usable from a Linux terminal or OSX. However, if you are from windows and you use PuTTY to connect to your EC2 instance, you need to convert your pem key to ppk format which is accepted by PuTTY.
This tutorials shows how to convert your .pem keys to .ppk which can be used by PuTTY to connect to your EC2 instances. Let’s get started.
1. Download PuTTYgen which is included on the whole package for PuTTY. The zip version that contains all utilities can be downloaded here.
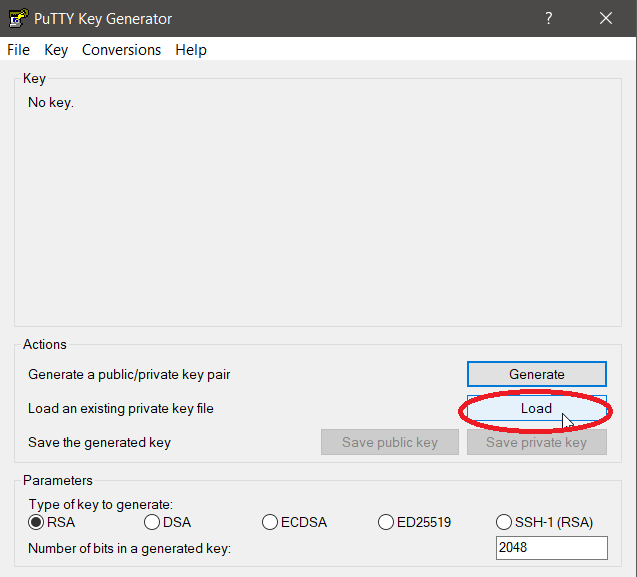
2. Extract the zip file and open PuTTYgen. Click Load to load your pem file.
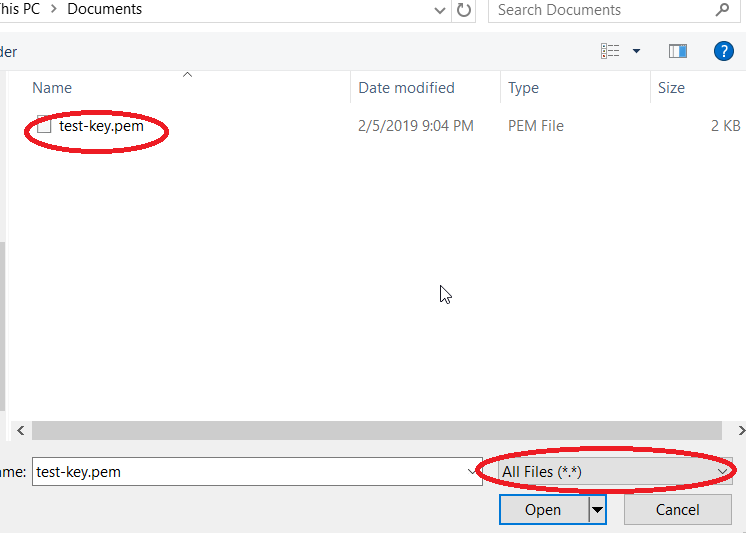
3. Choose “All Files” on the file type and then navigate to where you saved you .pem file. Select it and click Open.
4. Once your pem file is loaded, you need to export it to convert into ppk format. Click “Save private key” to export it.
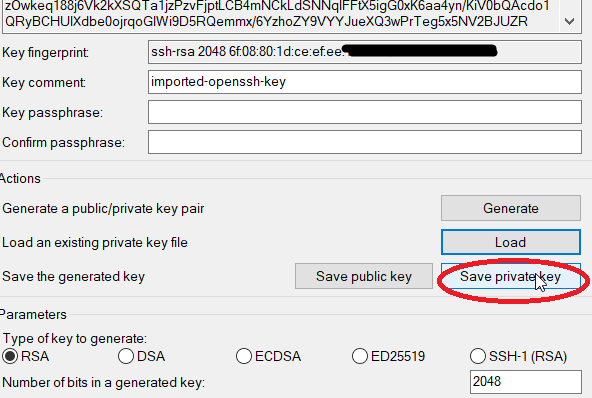
5. You can export it without a passphrase. So that no password is needed when loggin-in to the instance.

6. Save the file as .ppk type. You now have now successfully converted the PEM file to PPK format which can be used by PuTTY to connect to your instances using SSH.

You can now try the SSH connection to your instance.
7. Go to the EC2 Management console, select your instance, on the Description tab, copy the Public IP of the instance.

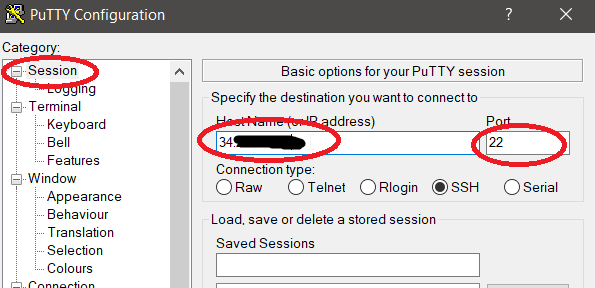
8. Open PuTTY. Click Session on the left side, Input the IP Address on the Hostname field. Select SSH, port 22.
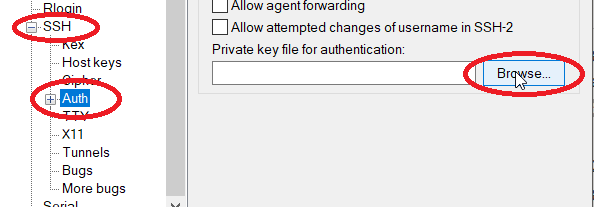
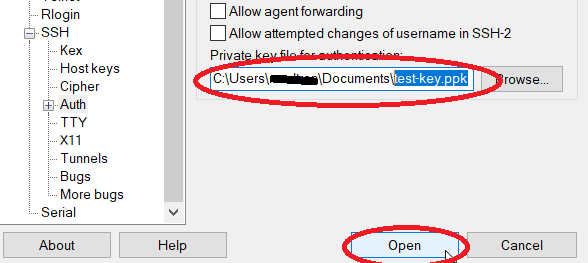
9. To load the key file, Click the SSH section on the left side, then Auth. Click Browse to find the PPK file you just exported on the previous steps.
10. After selecting the PPK file, click Open to connect to your instance.
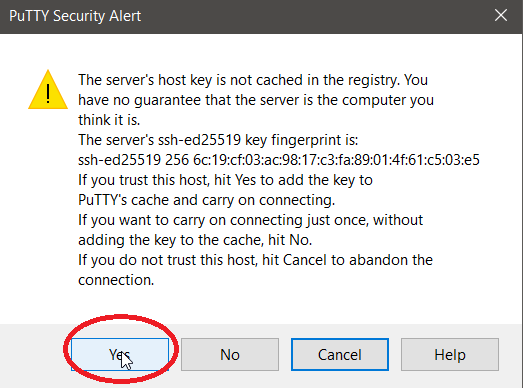
11. When connecting for the first time, you will be asked to confirm this host. So click Yes.
12. You will be presented with the login prompt. The default username for the Ubuntu AMI is “ubuntu”.
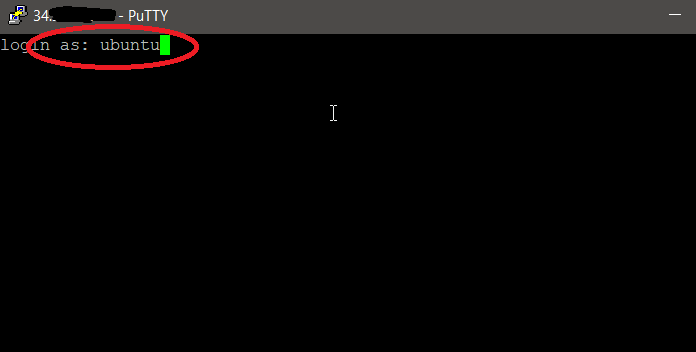
13. Once you hist Enter, you won’t be asked for a password since the PPK key you provided fulfills the authentication process.
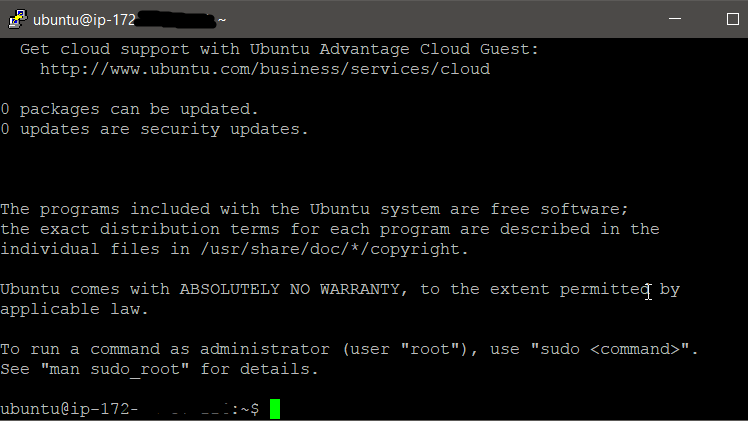
You should now be logged to your Ubuntu Linux instance. Try installing docker next to create a sample website.
————————————————–
– masterkenneth